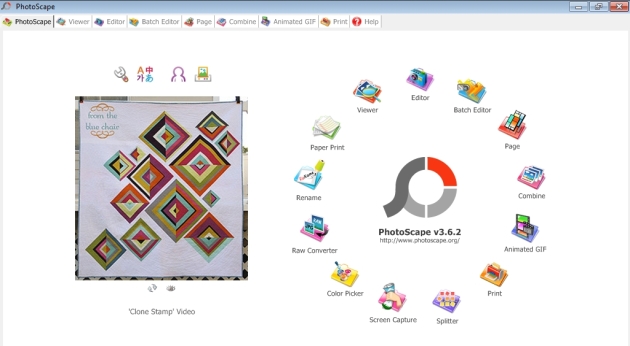
The Combine tool of photoscape lets you combine photos. Let’s use the photos we have splitted before using the splitter.
So here are some easy steps on how to combine pictures.
The Combine tool of photoscape lets you combine photos. Let’s use the photos we have splitted before using the splitter.
So here are some easy steps on how to combine pictures.
The Splitter lets you divide your photo into multiple parts. Actually, you can add as many photo as you like. It will automatically divide your photo/photos, all at the same size, based on the size you choose.
The Batch Editor is one of the powerful tools of Photoscape. The name itself defines its use. It allows the user to edit batch of pictures at once. This means that even how many photos you add on this feature, it will automatically applies all the effects/edits you applied in a single photo. Let me show you how it works.
Now let me show you how to make gifs in photoscape from a video or clip.
But first of all, you need to have this Free Studio(Video to JPG converter) application. It will convert your video into JPG frames. We’ll need that for making our gifs. I personally find that application easy to use but you can download any video to jpg converter if you want.
After you have download the converter, all you need to do is choose the video you want to make gif. Please keep in mind that when converting the video, the filename should not contain any other characters like Korean, Chinese, etc. because it won’t work.
So you just add the video, and as you can see I selected “Every 4 frames”, I suggest you use that too. Then just click the “convert” button if you’re done adding the video and choosing the number of frames. Once you’re done, you can see the converted gifs to the location you selected on your computer. For me, it is saved into “D:\work\togif”, you can change the location of the converted video if you prefer to.
 So you see, photoscape offers different features that can help you do edits in just simple and easy to learn steps. Let me just give you some preview about its features.
(Other features, to be updated later.)
How to sharpen your photos? You only need to follow two steps to do it.
As you can see, you can choose from the range of 1-10 when sharpening your photo. But I suggest that you should not sharpen it that much if you don’t want it to look messed up. I just used level 5 for you to clearly see what will happen if you used this tool.
Here’s an easy guide on how to reduce the noise of your photo. Please take note that I used the Filter option and Noise Reduction Tool, not the Smart Blur. But you can also use that if you want. I just prefer to use the Noise Reduction rather than the Smart Blur tool.
So here’s the original photo. As you can see, some parts of the photo looks like rough and full of texture on it.
Let’s start the photoscape tutorial now!!!
Based from my experience in using Photoscape, I’m gonna give some tips about editing your photos. Simple photoscape tutorial for your photo, these tips are kinda basic.
First of all, I recommend you to use a High Definition photo for better quality,of course ^^.
Second, when editing a photo, make sure to reduce the noise on it. So that it will look “flawless” , it will actually blur or clear the skin of the photo.
Third, after reducing the noise, I suggest that you should use the sharpen tool especially when the photo had been blurred too much (make sure that you won’t blur it too much when you use the noise reduction). But please take note that you should not sharpen it that much.
And there you have it. Simple edit for your photo. You can use some effects for editing it. (Tutorial on photoscape effects, to be updated soon)
Adding text on your photos is so simple using Photoscape. Let’s get this photoscape tutorial started!
All you have to do is click the T or TT button. A dialog box will appear and from then, you can now type text on it, change its color, change font size, change font style, text alignment, etc.
*The dialog box above will pop out when you click the TT button. As you can see, you can choose in there some basic tools for your texts.
*The dialog box above will pop out when you click the T button. As you can see, there are more options in this tool. Aside from the basic things you can do to edit your text, using the T button lets you add outline and shadow, lets you control its opacity of your texts, and many others.
NOTE: I prefer using the T button because of the additional pictures. But it’s still up to you which one you’ll use.
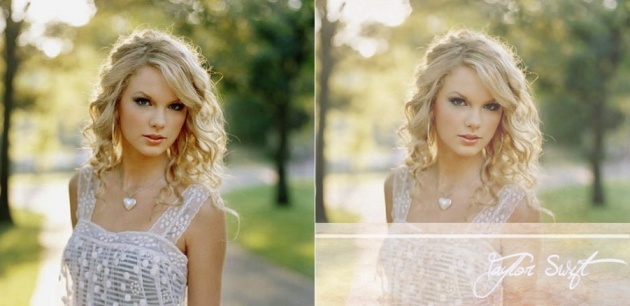
So photoscape also have this feature where you can add texture/s to your photos. Let me show you how to add textures for a photo. Just like what I’ve made for this one.  First, I clear skin texture of the original photo by reducing the noise on it. As you can see, you can choose from Low to High Clear Skin. I used the Low one for this photo because too much reducing of noise might cause blurring the picture and it might get ruined.